Perfect Roast Beef
Learn how to cook the perfect roast beef with a deeply savory crust, juicy pink center, and foolproof technique that works every time. This is the only roast beef recipe you will ever need.

The Roast Beef Recipe You Have Been Waiting For
There is something quietly magnificent about a perfectly cooked roast beef. The moment it comes out of the oven, burnished and fragrant, the kitchen fills with a smell that instantly signals something special is happening. Whether you are cooking it for a Sunday family dinner, a holiday table, or simply because you deserve something extraordinary on a weeknight, this recipe delivers the kind of roast beef that people talk about long after the plates are cleared.
This is not a complicated recipe. But it does reward attention to a few key details, and once you understand them, you will never second-guess how to roast beef perfectly again.
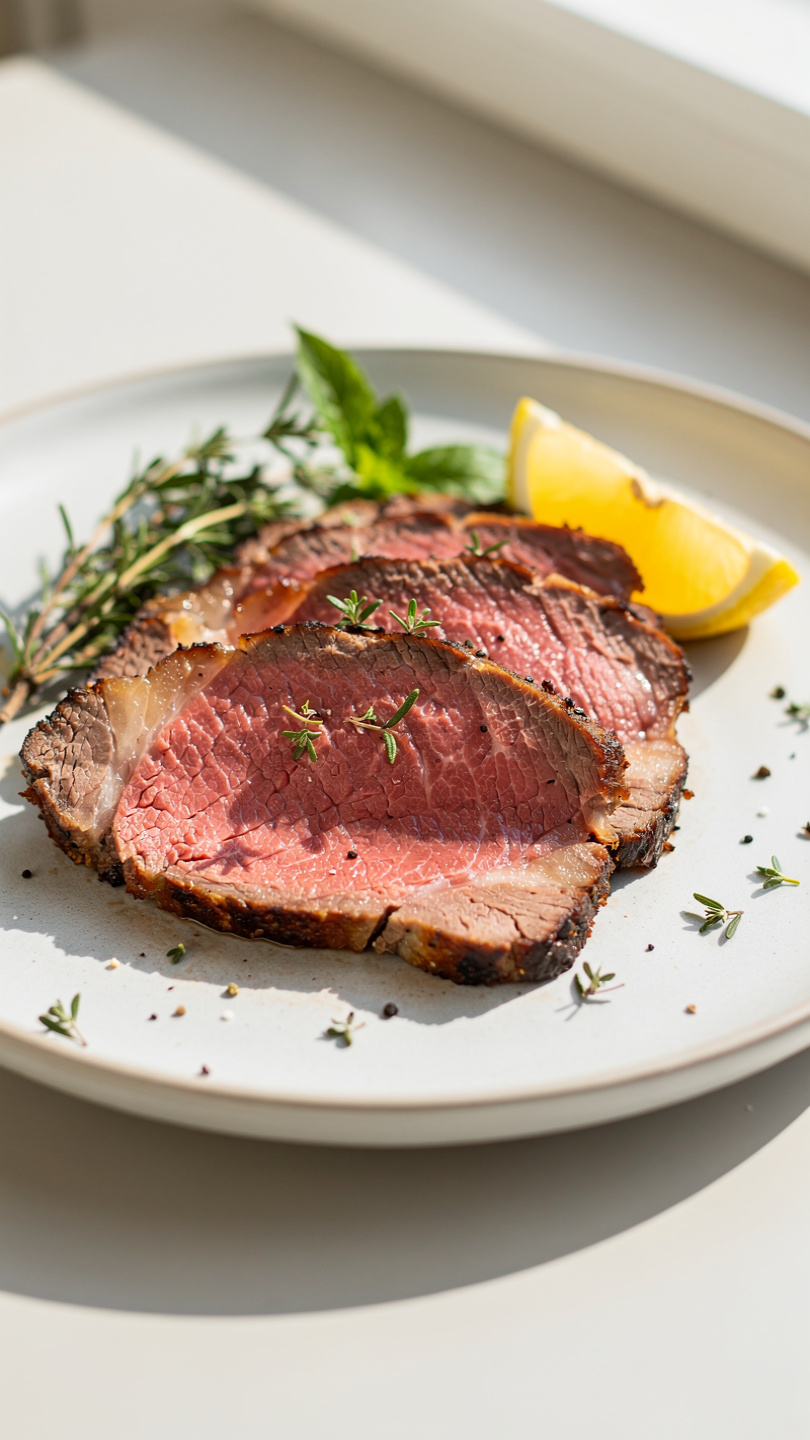
Why This Method Works
The best way to cook roast beef involves two temperatures, not one. You start with a blast of high heat at 450 degrees F to build a deeply savory, caramelized crust on the outside. Then you drop the temperature to a gentle 325 degrees F to coax the interior to a perfect, blushing pink without overcooking it.
This is the same principle used in professional kitchens, and it is the reason restaurant roast beef always seems to have that contrast between a bold, crackling exterior and an impossibly juicy center. Combined with a herb and garlic paste that perfumes every bite, this is genuinely how to cook tender roast meat at home.
Chef's Tip: The single most important step in this entire recipe is resting the meat after it comes out of the oven. Twenty minutes minimum, no exceptions. The fibers of the meat need time to relax and reabsorb the juices. Cut into it too early and those juices pour out onto your cutting board instead of staying in your dinner.
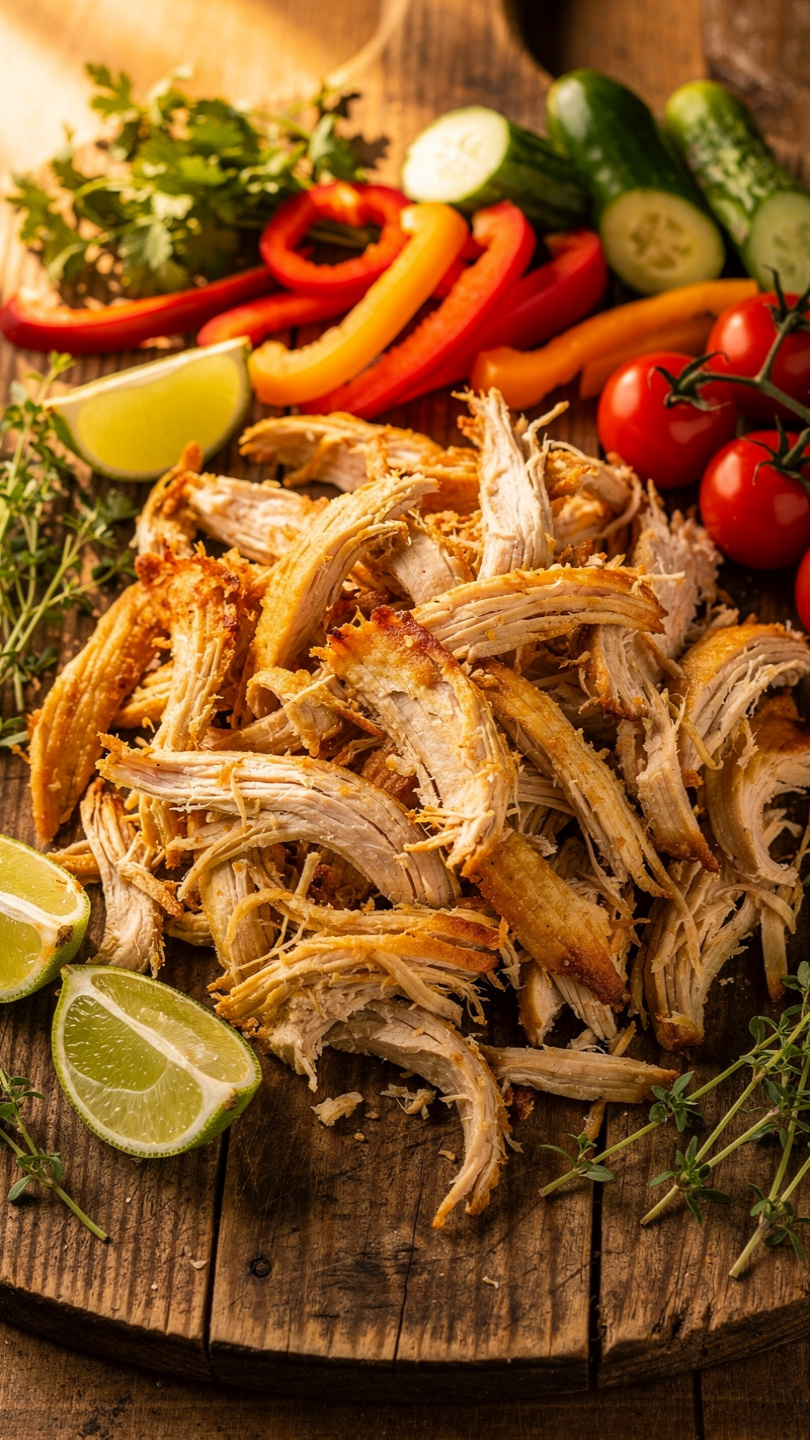
Choosing the Best Meat for Roast Beef
Not all cuts are created equal, and picking the right one is half the battle. Here is a quick guide:
- Ribeye Roast: The richest, most flavorful option thanks to its exceptional marbling. This is the best meat for roast beef if budget is not a concern.
- Sirloin Tip Roast: A leaner cut that is more affordable and still produces a beautiful roast when handled correctly.
- Top Round: The leanest of the three. It benefits from not being cooked past medium-rare and from very thorough resting.
Whatever cut you choose, bring it to room temperature for a full hour before it goes into the oven. A cold roast cooks unevenly, and you will end up with overcooked edges and an underdone center.
How to Season Beef for Roasting
The herb paste in this recipe does serious work. Olive oil and Dijon mustard act as a binder that helps everything cling to the surface of the meat. Garlic, rosemary, and thyme bring that classic, aromatic backbone. And a generous amount of kosher salt does more than season the surface. When applied the night before and left uncovered in the refrigerator, the salt draws moisture out and then pulls it back in, seasoning the meat all the way through in a process called dry brining.
If you only have an hour before cooking, the paste still does an excellent job. But if you can plan ahead, applying it the night before is genuinely the best way to cook roast beef with flavor that runs deep.
Using the right tools in your kitchen makes a noticeable difference when roasting large cuts of meat. A reliable instant-read thermometer is non-negotiable here, and a sturdy heavy-duty roasting pan ensures even heat distribution and gives you beautiful fond for drippings.
What to Have With Roast Beef
A roast this good deserves equally thoughtful sides. Here are some pairings that work beautifully:
- Creamy mashed potatoes to soak up the rich pan drippings
- Roasted root vegetables like parsnips, carrots, and turnips
- Yorkshire pudding for a classic British Sunday roast experience
- A sharp horseradish cream sauce to cut through the richness of the beef
- Steamed or roasted green beans for color and freshness on the plate
The pan drippings from this roast are liquid gold. Do not discard them. Pour them over your sliced beef or use them as the base for a simple pan gravy by whisking in a little flour and extra stock over medium heat.
Chef's Tip: Placing halved onions and carrots in the roasting pan under the beef does double duty. They keep the roast elevated so heat circulates underneath, and they flavor the drippings as they caramelize in the oven.
Ready to Make It?
Every detail you need is right here. Scroll down for the full step-by-step recipe with exact times, temperatures, and quantities:
Perfect Roast Beef
Learn how to cook the perfect roast beef with a deeply savory crust, juicy pink center, and foolproof technique that works every time. This is the only roast beef recipe you will ever need.
Ingredients
- 3 lb beef ribeye roast or sirloin tip roast, brought to room temperature for 1 hour before cooking
- 2 tbsp olive oil, extra virgin
- 2 tsp kosher salt, or to taste
- 1 1/2 tsp black pepper, freshly cracked
- 6 garlic cloves, minced or sliced into slivers
- 3 fresh rosemary sprigs, leaves stripped and finely chopped
- 4 fresh thyme sprigs, leaves stripped
- 1 tbsp Dijon mustard, adds depth and helps the crust adhere
- 2 tbsp unsalted butter, softened, for basting
- 1 cup beef stock, for the roasting pan drippings
- 1 yellow onion, halved, used as a roasting rack base
- 2 carrots, halved lengthwise, used as a roasting rack base
Instruction
Remove the roast from the refrigerator at least 1 hour before cooking and pat it completely dry with paper towels. This is essential for a deep, even crust.
Preheat your oven to 450 degrees F (230 degrees C).
In a small bowl, mix together the olive oil, Dijon mustard, minced garlic, chopped rosemary, thyme, salt, and black pepper to form a thick paste.
If using garlic slivers, use a small knife to cut slits all over the roast and tuck a sliver of garlic into each one. Then rub the herb paste all over the surface of the meat, covering every side generously.
Place the halved onion and carrots in the center of a roasting pan to act as a natural rack. Set the seasoned roast fat-side up on top of the vegetables.
Roast at 450 degrees F (230 degrees C) for 15 minutes to sear the outside and develop a dark, flavorful crust.
Reduce the oven temperature to 325 degrees F (165 degrees C). Pour the beef stock into the bottom of the pan. Continue roasting until a meat thermometer inserted into the thickest part reads your desired doneness: 125 degrees F for rare, 135 degrees F for medium-rare, 145 degrees F for medium.
About halfway through cooking, dot the top of the roast with softened butter for extra richness and baste with the pan drippings.
Once the roast reaches your target temperature, remove it from the oven and tent it loosely with aluminum foil. Rest for a minimum of 20 minutes before carving. Do not skip this step.
Carve the roast against the grain into thin slices and serve with the pan drippings spooned over the top.
Equipment
- Heavy roasting pan
- Instant-read meat thermometer
- Aluminum foil
- Sharp carving knife
- Cutting board with juice groove
- Small mixing bowl
- Basting brush
Notes
Storing and Using Leftovers
Leftover roast beef might actually be better the next day. Store slices in an airtight container in the refrigerator for up to 4 days. To reheat, place the slices in a baking dish with a splash of beef stock, cover tightly with foil, and warm at 300 degrees F for 10 to 15 minutes. This keeps the meat from drying out.
For cold leftovers, thinly sliced roast beef makes an extraordinary sandwich with good horseradish, sharp cheddar, and a crusty roll. It is also wonderful chopped into a hash with potatoes and onions for a savory next-morning breakfast.
However you serve it, this perfect roast beef recipe is the kind of cooking that feels like a real accomplishment. Simple ingredients, a bit of patience, and a reliable thermometer are genuinely all you need.